Auto firewall insulation blocks engine heat and road noise so the cabin stays quiet and cool.
If you want a calmer ride, steady HVAC temps, and fewer rattles, you need smart heat and sound control at the firewall. I have installed and tested many setups on street cars, track builds, and work trucks. In this guide, I break down auto firewall insulation in plain language. You will learn what works, what does not, and how to do it right the first time.

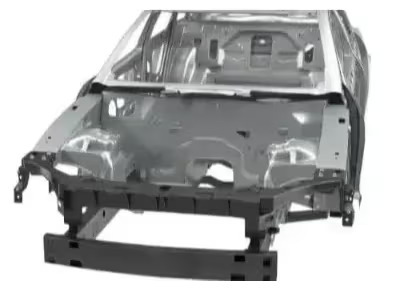
What is auto firewall insulation and why it matters
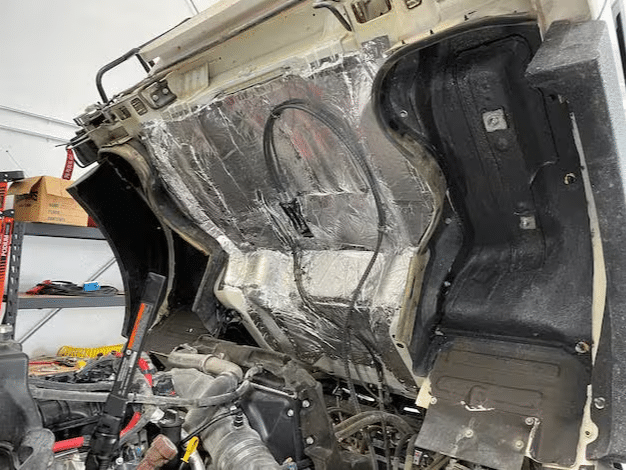
The firewall is the wall between the engine bay and the cabin. It faces hot parts, moving air, and harsh vibration. Auto firewall insulation blocks heat and noise before they enter the cabin.
Good auto firewall insulation keeps your AC cool. It protects wiring and plastics from heat soak. It can cut drone and tire roar on long drives. It can also help protect you from a hot soak after shut down.
Here is what it does in simple terms:
- Reduces heat from the engine and exhaust
- Cuts noise from the road and drivetrain
- Protects cables, modules, and paint
- Makes the car feel solid and refined
Done right, auto firewall insulation improves comfort and value. It is one of the best upgrades per dollar.
How auto firewall insulation works: heat and sound basics
Heat moves in three ways. It conducts through metal. It convects with hot air. It radiates as infrared energy. Auto firewall insulation targets all three paths with layers.
Sound moves as pressure waves. Thin steel panels vibrate and pass that energy. Heavier and softer layers can damp and absorb that energy. A sealed barrier can block it.
Common stack logic:
- A damping layer to calm the metal
- A decoupling foam or fiber to absorb
- A dense barrier to block sound
- A reflective face to bounce heat
R-value helps for conduction. Reflective foil helps for radiant heat. Density matters for noise. The right combo makes a big change at the firewall.
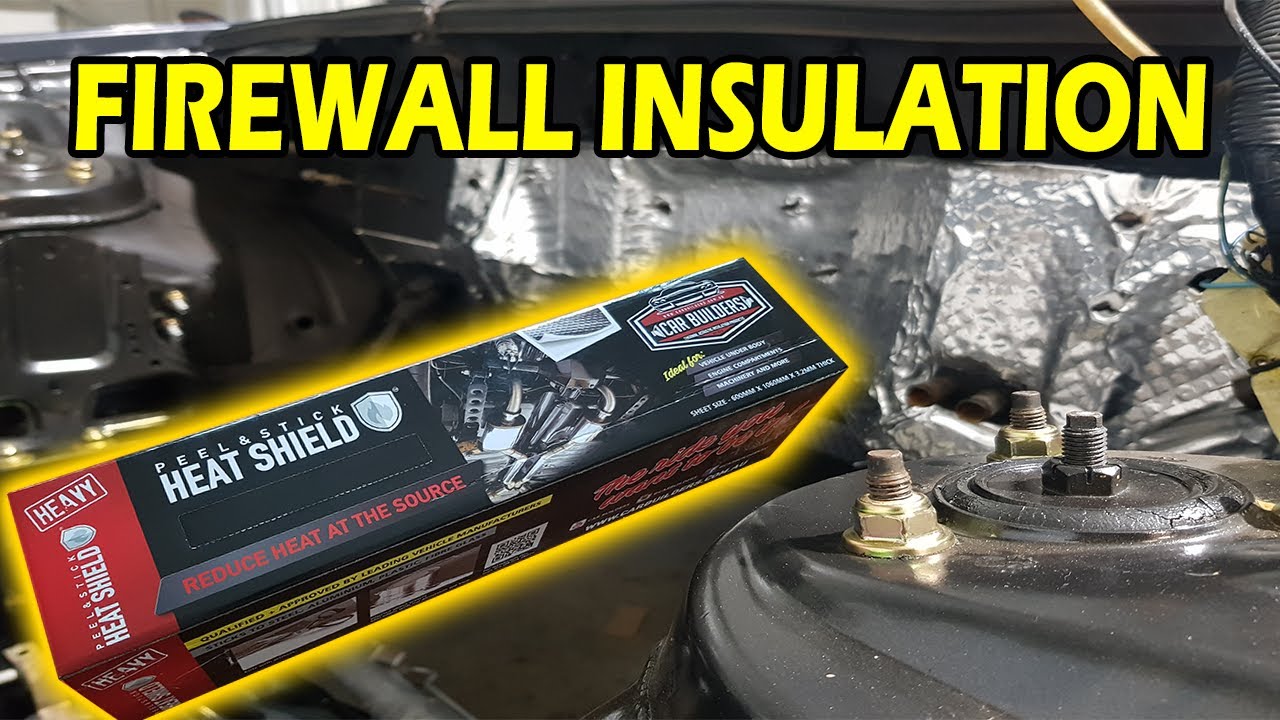
Common materials for auto firewall insulation
You can mix and match based on heat, noise, weight, and space. These are the most used options for auto firewall insulation.
Damping sheets
- Butyl rubber sheets calm panel vibration
- Use on bare metal as the first layer
- Choose high temp butyl, not asphalt
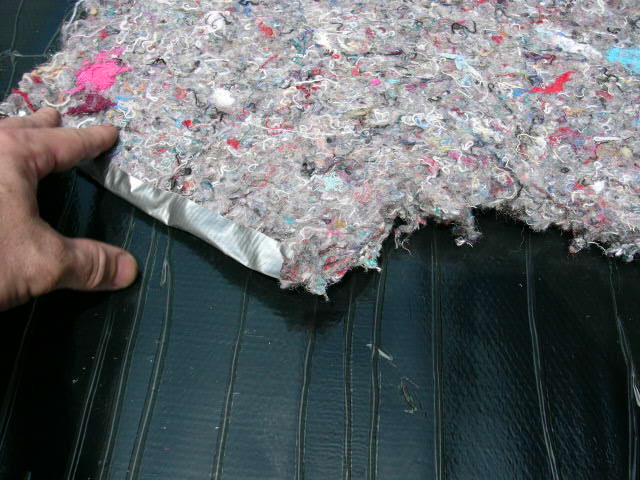
Acoustic and thermal layers
- Closed cell foam decouples and resists water
- Melamine foam is light and heat safe
- Mineral wool or basalt mats take high heat
Barriers and shields
- Mass loaded vinyl blocks low frequency noise
- Aluminum foil facings reflect radiant heat
- Ceramic fiber or aerogel blankets handle extreme heat
Adhesives and tapes
- High temp spray adhesive for foam and mats
- Foil tape seals seams and edges
- Mechanical fasteners for hot zones
Most engine bay spots need high heat ratings. Watch for parts near headers and turbos. Pick materials that handle at least the expected peak. For many builds, 300 to 500°F in hot spots is a safe aim.
Choosing the right auto firewall insulation for your vehicle
Each vehicle needs a plan. First set your goal. Do you want cooler cabin temps, less drone, or both? Then pick layers to match the goal and space.
Quick guide by use:
- Daily driver: Butyl damping plus 6 to 10 mm closed cell foam and a light barrier
* Work truck: Higher density barrier plus rugged foil face for footwell wear - Track car: Thin, light layers with strong foil for radiant heat near headers
- Diesel or off-road: Oil resistant materials and sealed edges for mud and washdowns
- EV or hybrid: Focus on tire and motor whine with more barrier and decoupling
Check these before you buy:
- Heat rating and flame test data
- Water and chemical resistance
- Weight per square foot
- Thickness and space behind trim
- Service access and grommet routing
Also check flammability ratings such as FMVSS 302. Some states care about mods near the firewall. When in doubt, choose tested materials with clear specs.
Tools and prep checklist
Good prep gives strong bonds and long life. Gather your tools first to save time.
You will need:
- Degreaser and wax remover
- Nylon brush and clean rags
- Isopropyl alcohol for final wipe
- Cardboard or paper for templates
- Utility knife and sharp blades
- Scissors for fabric mats
- J-roller for pressure on sheets
- Aluminum foil tape
- Nitrile gloves, eye protection, and mask
Check the wiring, grommets, and drains at the firewall. Plan how to remove trim and pedals if needed. Keep a fire extinguisher nearby when working in a hot engine bay.

Step-by-step installation guide
Follow these steps to install auto firewall insulation with clean results.
- Plan the stack. Choose layers for damping, decoupling, barrier, and heat reflection.
- Strip trim and mats. Expose the firewall on the cabin side if possible.
- Clean metal well. Degrease, brush, and wipe with alcohol. Let it dry.
- Make templates. Use paper to trace choke points and grommets.
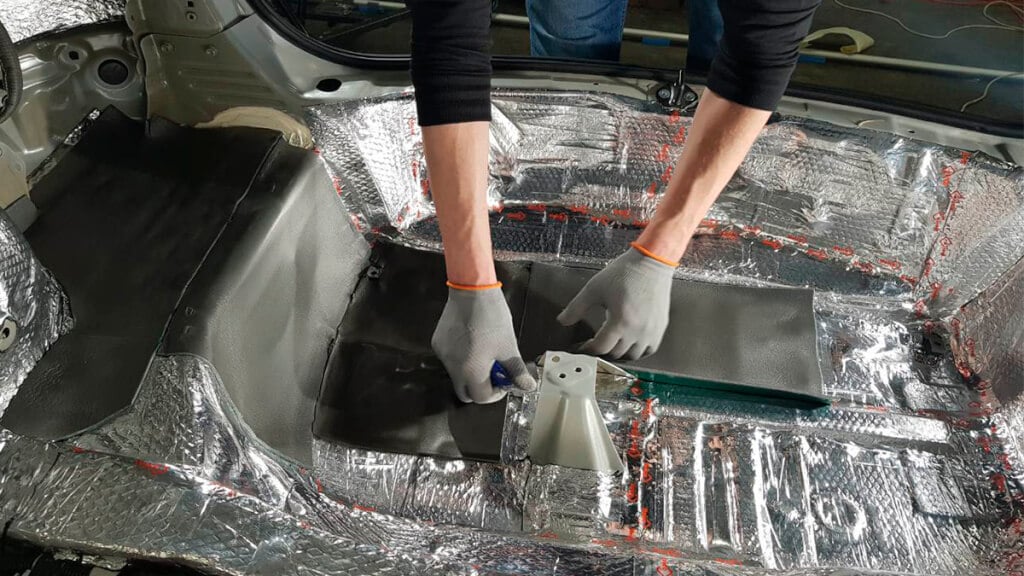
- Lay damping sheets. Cover 25 to 60 percent of the metal. Roll with firm pressure.
- Add decoupling foam. Use closed cell foam. Leave room at pedals and hinges.
- Add barrier layer. Fit mass loaded vinyl or dense mats over the foam.
- Seal seams. Use foil tape to close gaps. Do not block drains.
- Add reflective shield. Place foil faced mats near hot zones on the engine side if safe.
- Refit trim. Check pedal travel, cable sweep, and HVAC doors.
- Heat cycle test. Drive, park, then recheck adhesion and clearances.
Take your time at edges and around grommets. A clean seal prevents hot air leaks and noise leaks.

Mistakes to avoid and pro tips
Small errors can ruin good materials. Avoid these common traps with auto firewall insulation.
Avoid these mistakes:
- Using open cell foam that soaks water
- Sticking over grease or dust
- Blocking VIN plates or service ports
- Covering drain holes or HVAC outlets
- Letting mats touch hot headers
Pro tips that help:
- Degrease twice in old cars with oil film
- Warm sheets before install for better tack
- Use a roller. Hands do not give even pressure
- Stage wiring first. Do not trap harnesses
- Tape every seam. Air leaks defeat the system
I have seen great results by breaking the job into zones. Do the upper firewall first. Then the footwells. Test drive between steps so you can feel each gain.

Measuring results: heat and noise before and after
You can prove gains with simple tools. This builds trust in your setup and shows what to fix.
To check heat:
- Use an IR thermometer on footwells and dash lower panels
- Log temps after a steady drive and after a hot soak
- Aim for a drop of 10 to 30°F at common touch points
To check noise:
- Use a phone SPL app
- Take readings at 40, 60, and 75 mph on the same road
- A drop of 3 dB sounds like a clear change. 6 dB is big
Record your data. A few numbers help you tune the layers at the firewall.

Maintenance, durability, and safety
Auto firewall insulation lives in a hard zone. Heat, fluids, and vibration test it daily. A little care goes a long way.
Do this twice a year:
- Inspect edges and tape seams
- Check for oil or coolant leaks
- Press on sheets to confirm bond
- Clean foil faces with mild soap
Watch for discolor, sag, or smell. These can signal chemical attack or heat damage. Fix leaks fast. Many failures are from oil film, not bad glue. If you sell the car, keep photos of the install. Buyers like proof that the work was clean and safe.
Cost breakdown and value
Budgets can range a lot. The good news is that small jobs still help.
Typical costs:
- Materials for a compact car firewall: 80 to 200 dollars
- Mid-size or truck firewall with extra barrier: 150 to 350 dollars
- Tools and tapes: 20 to 60 dollars
- Pro labor if you outsource: 300 to 800 dollars
Value adds:
- Better comfort and less fatigue on trips
- Kinder to electronics and plastics
- Quieter cabin that feels upscale
- Resale boost if the work is tidy
Auto firewall insulation gives a clear return in daily use. You feel it on the first drive.
Product types and how to compare
There are many products in this space. The label can be confusing. Keep your review simple and focus on facts.
Compare by:
- Temperature rating for continuous and peak
- Density and thickness for blocking power
- Water and chemical resistance
- Adhesive type and bond strength
- Test data such as flammability and smoke
You can mix brands without issue. Match layers by function, not by logo. Buy a small roll first and test a patch under the dash. If it holds and smells clean after a week, scale up.
Environmental and health considerations
Safety matters at the firewall. Heat and fumes are real. Respect them during install and over time.
Simple safety steps:
- Wear gloves, eye protection, and a dust mask
- Cut away from your body to avoid slips
- Vent the area if you use spray glue
Material notes:
- Closed cell foam and butyl are low dust
- Mineral fibers can itch. Seal edges with foil tape
- Low VOC adhesives smell less and cure faster
Dispose of scraps the right way. Keep any fibers out of the cabin air path. After you finish, run the fan with windows open for a few minutes.
Real-world examples and lessons learned
Here are quick snapshots from installs I have done with auto firewall insulation. These can guide your plan.
Street sedan
- Goal was heat control and a mild noise cut
- Used butyl damping and 6 mm closed cell foam
- Result was faster AC pull down and less tire hum
Diesel work truck
- Goal was low drone on the highway
- Added dense barrier and sealed seams at the firewall
- Result was a calmer cab and better hands-free calls
Track build with header heat
- Goal was radiant heat control with low weight
- Used thin damping and a reflective shield on the engine side
- Result was cooler footwells without heavy mass
The main lesson is this. Plan the stack for your goal. Then seal it well. Auto firewall insulation works best when air leaks are gone.
Frequently Asked Questions of auto firewall insulation
What is auto firewall insulation made of?
It often uses butyl rubber, foams, fibers, and reflective foil. Some builds add a dense barrier for better noise blocking.
Can I install auto firewall insulation myself?
Yes, with basic tools and patience. Clean prep and careful templates are the keys to success.
How thick should auto firewall insulation be?
Most cabin-side stacks are 6 to 15 mm. Use thinner layers near tight pedal areas and thicker layers where space allows.
Will auto firewall insulation affect warranty or safety?
If you block drains or VIN tags, you can cause issues. Use rated materials and keep service access clear to stay safe.
How long does auto firewall insulation last?
Good materials can last many years. Inspect seams and edges twice a year and fix any oil leaks fast.
Does it reduce engine noise a lot?
It can cut higher frequencies and some drone. The biggest gains come when you pair it with floor and door treatment.
Is spray-on ceramic a good option?
It helps with radiant heat but is not a full noise blocker. Many people use it with foam and barrier layers.
Conclusion
Auto firewall insulation is a smart upgrade with clear gains in comfort, heat control, and noise. Start with a plan, choose rated materials, and seal every seam. Small steps done right beat thick layers done wrong.
Pick one zone this weekend and try it. Measure before and after to see the change. If this guide helped, share it with a friend or subscribe for more practical tips.