Use a blur filter, add a mask, then track the subject for clean results.
You want to know how to add blur effect video without guesswork. You are in the right place. I edit videos for clients and creators every week, from YouTube to ads. I will show you how to add blur effect video in simple steps, with pro tips, tool choices, and real examples you can copy today. Expect clear guidance, common pitfalls, and smart fixes you can use right away.

What the blur effect does and when to use it
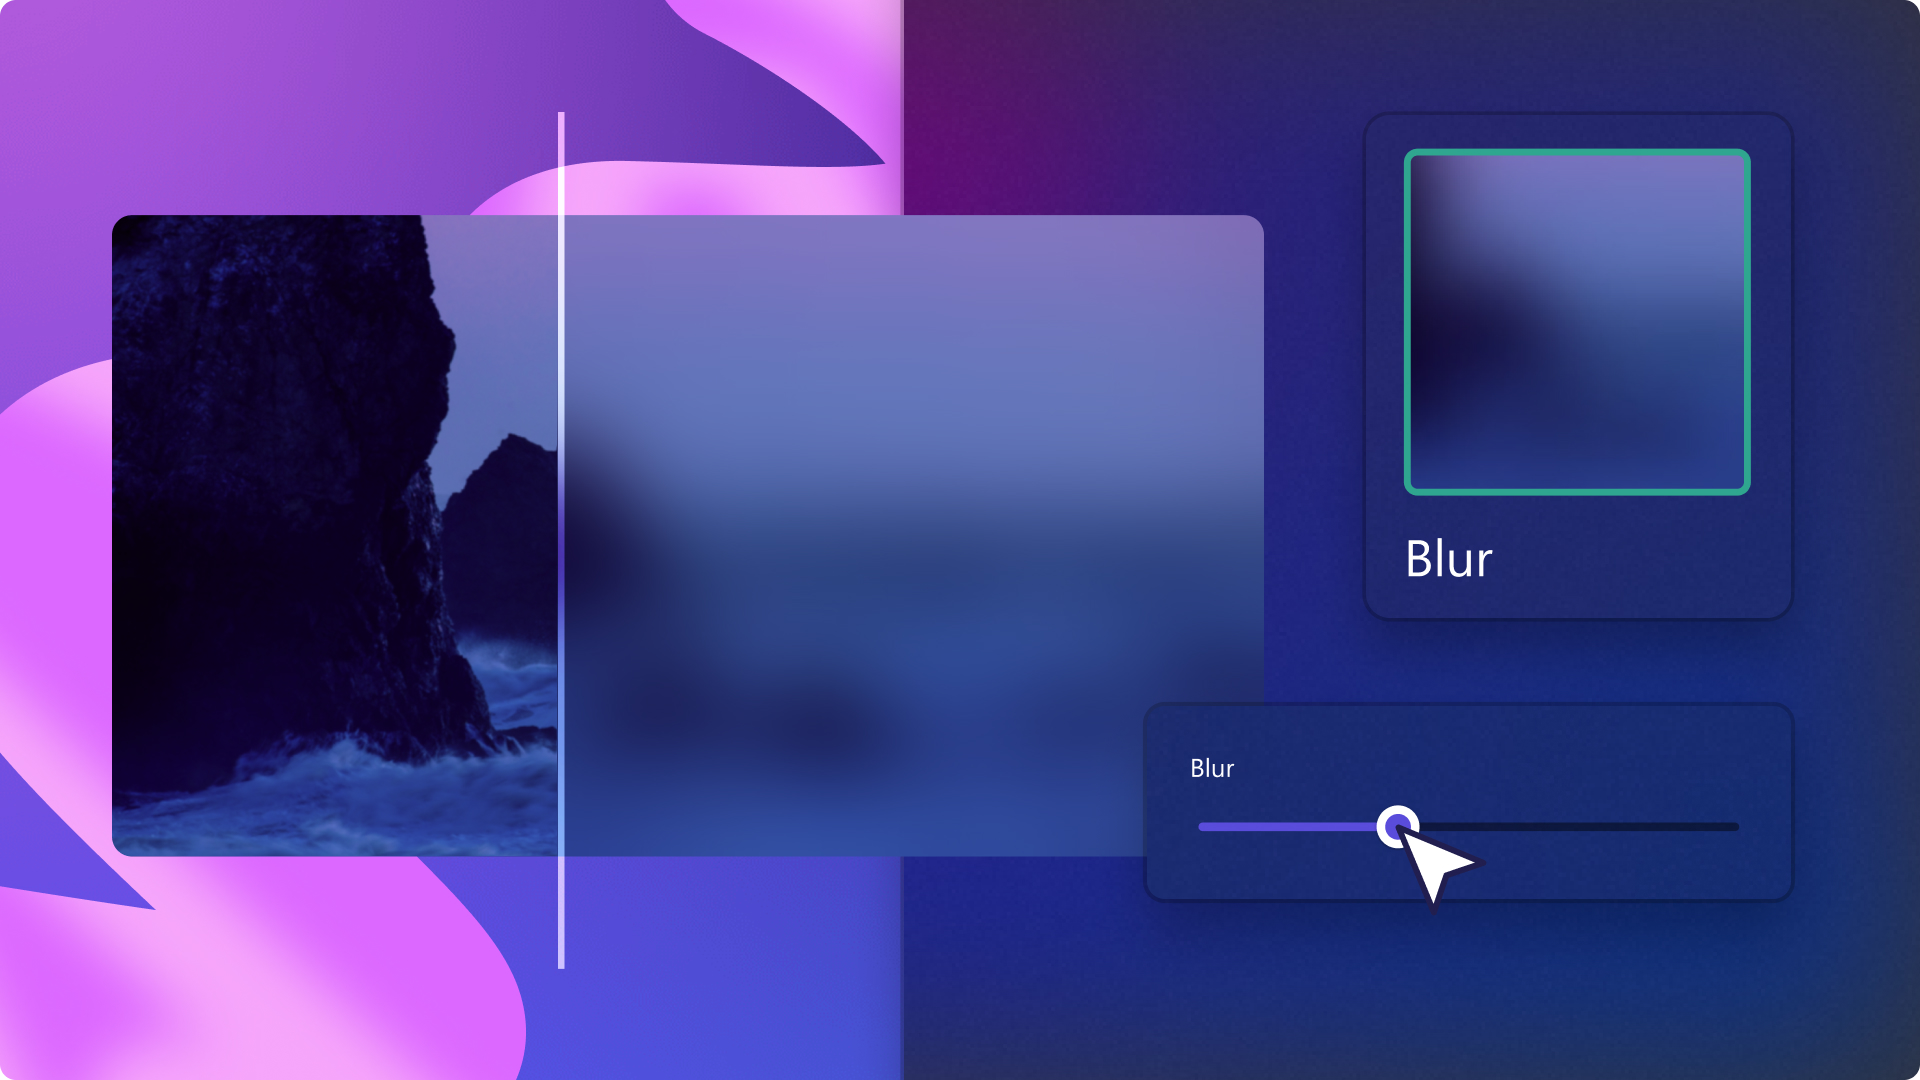
A blur effect hides details by softening pixels. It can protect faces, license plates, or screens. It can also add style and depth, like a creamy background.
You can blur the full frame. You can blur one area with a mask. You can even blur a moving object with tracking.
Use blur for privacy, legal needs, and focus. Be mindful of local laws and platform rules. Blur does not make data safe if audio or text still reveals identity.
The tools you can use
You can add blur in many apps. Pick what fits your device, budget, and skill.
- Desktop editors: Adobe Premiere Pro, Final Cut Pro, DaVinci Resolve, CapCut Desktop.
- Mobile apps: CapCut, VN, InShot, LumaFusion.
- Online editors: Canva, Kapwing, VEED.
If you are learning how to add blur effect video, start with a tool you already know. Then grow to masks and tracking.

How to add blur effect video: a simple workflow
Follow this base workflow in most editors.
- Import your clip and place it on the timeline.
- Add a blur effect, like Gaussian Blur.
- Choose area. Use a mask shape or draw a custom mask.
- Set blur strength. Start small and increase until details are gone.
- Feather the mask edge for a soft blend.
- Track motion if the subject moves. Use auto tracking when you can.
- Check the full clip at 100 percent zoom.
- Export a short test to confirm it holds up on phones.
I use this same flow on ads and tutorials. It is fast, clear, and easy to fix. It is also the best way to learn how to add blur effect video with confidence.
How to add blur effect video in popular editors
Adobe Premiere Pro
- Search for Gaussian Blur in Effects. Drag it to your clip.
- In Effect Controls, add a mask. Use ellipse, rectangle, or pen.
- Raise Blurriness until the detail is gone. Check Repeat Edge Pixels.
- Click Track Selected Mask Forward to follow movement.
- For background blur, duplicate the clip, blur the bottom clip, and key out the subject on the top clip.
Pro tip: If the track slips, add keyframes on tricky frames to guide the mask.
Final Cut Pro
- Add Gaussian Blur from Effects to the clip.
- Use Object Tracker to track a face or object. Attach the blur to the track.
- Or add a Shape Mask or Draw Mask and adjust the blur amount.
- Feather the mask to avoid harsh edges.
Pro tip: Use two trackers for complex moves. Blend them by adjusting the mask path.
DaVinci Resolve
- Edit page: Drop Gaussian Blur on the clip. Add a mask and keyframe as needed.
- Color page: Add a node. Use Window to draw a mask. Blur in the Blur palette. Track with the Tracker.
- For background blur, use a Parallel node and qualify the subject or use Magic Mask (Studio).
Pro tip: The Color page tracker is very strong. Use it for faces and hands.
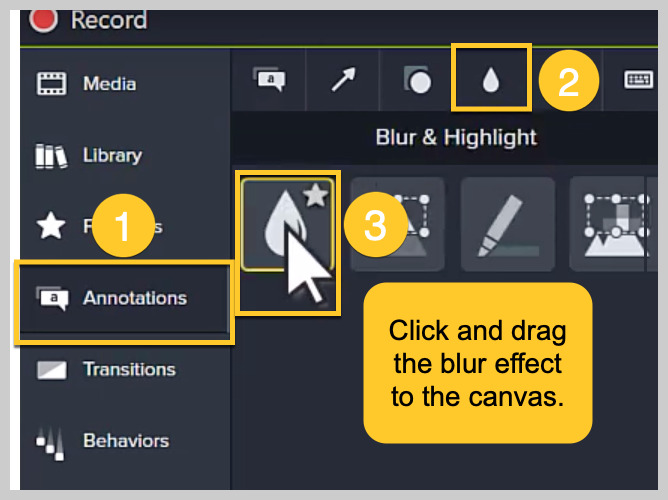
CapCut Desktop and Mobile
- Select the clip. Choose Effects or Filters. Pick Blur or Mosaic.
- Add Mask. Pick shape and feather it. Adjust blur strength.
- Use Motion Tracking where available. Or keyframe the mask center.
Pro tip: For a face, pair auto-cutout with a blurred duplicate below for a smooth background blur.
iMovie
- iMovie does not have a true blur effect or mask.
- Workaround: Create a blurred version of your clip in Keynote or Photos. Stack it below your main clip. Use Picture-in-Picture with a shape image as a mask, or use a third-party plugin.
Pro tip: If you need blur often, move to Final Cut Pro or CapCut. It saves time.
Learning how to add blur effect video in these tools speeds up your workflow. Pick one and practice on a short clip.
Advanced techniques that make blur look pro
Motion tracking basics
Tracking keeps the blur on target. Use built-in trackers first. If the subject moves fast or leaves the frame, add keyframes on those frames. Keep moves simple and steady.
Mask design
Start with round masks for faces. Use the pen tool for screens and odd shapes. Feather 10 to 30 pixels for a soft edge. Too much feather can leak detail.
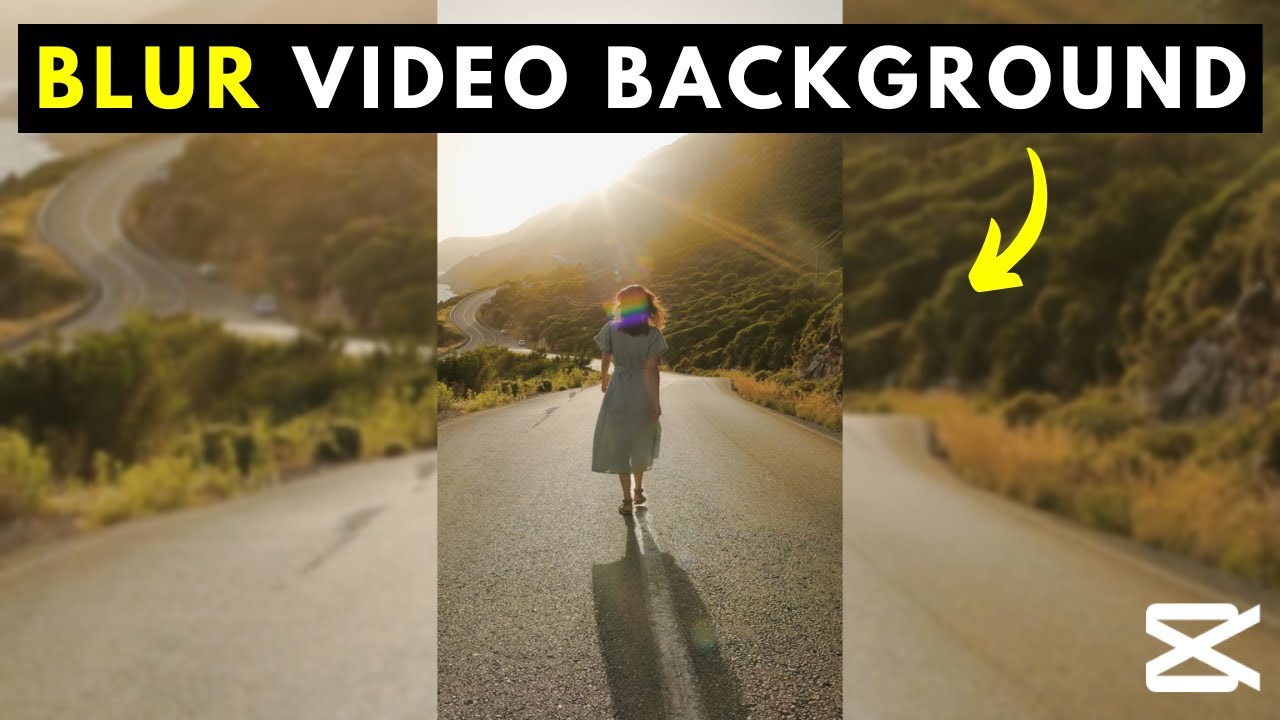
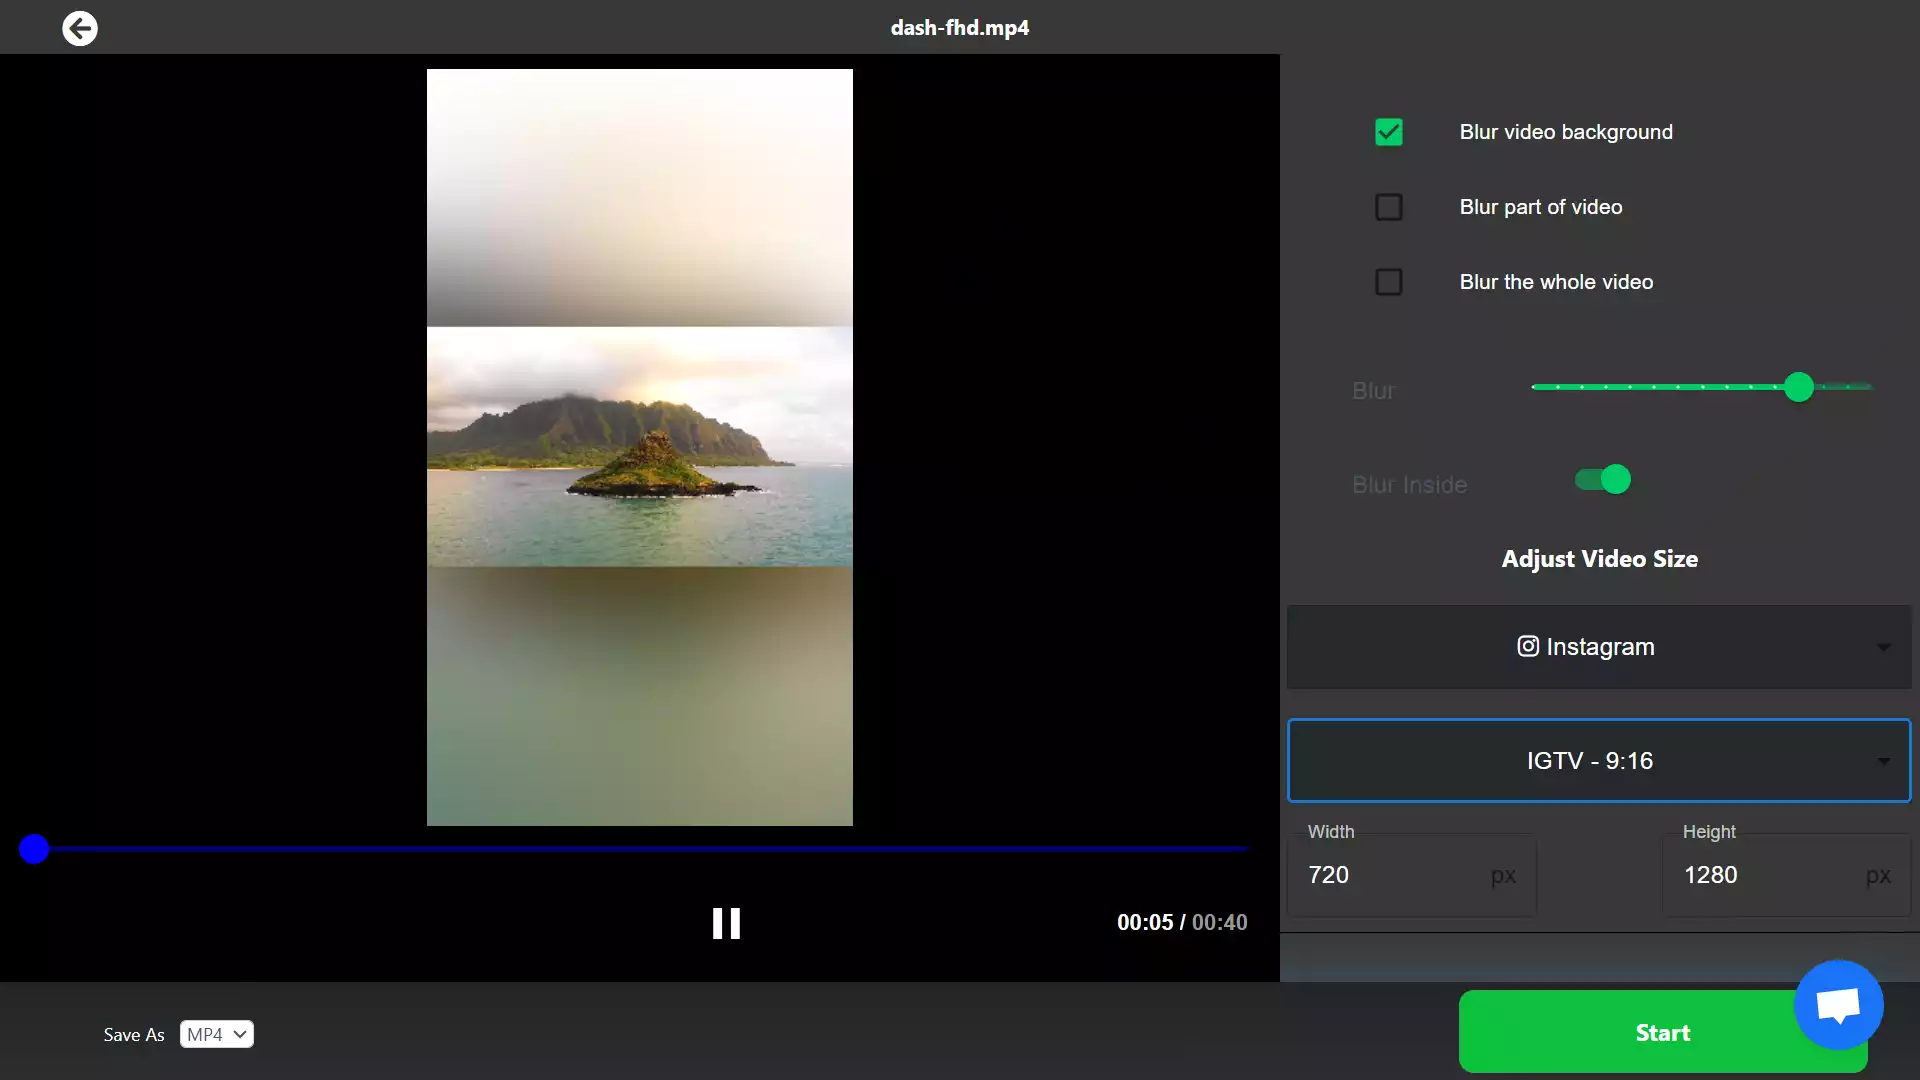
Background blur
Duplicate the clip. Put the blurred version below the clean version. Cut out the subject on the top clip with a mask, keyer, or subject selection. This gives a cinematic look.
Blur types
Gaussian Blur is the standard. Box Blur is fast. Lens Blur looks natural but is heavy. Use Mosaic for blocky privacy blur when style does not matter.
These tips help when you explore how to add blur effect video on client work or social shorts.

Quality checks, export, and delivery
Blur can change after export and upload. Check quality before you share.
- Watch at 100 percent. Zoom in if needed.
- Check on a phone. Small screens can show edges.
- Use a higher bitrate for text and faces.
- Avoid strong sharpening or grain after the blur. It can reveal detail.
- For social, export H.264 High, 10 to 20 Mbps for 1080p. Go higher for 4K.
When you focus on how to add blur effect video, a clean export is the last mile. Do not skip it.
Troubleshooting and common mistakes
- The blur slips off the face: Improve the track. Add keyframes. Use a larger mask.
- Edges look harsh: Increase feather. Match mask shape to the subject.
- Not enough privacy: Increase blur strength. Use Mosaic. Double the blur layer.
- Blur flickers: Avoid heavy sharpening and noise reduction near the mask.
- Performance is slow: Use proxies. Use simpler blur types while editing.
I learned these the hard way on a road shoot. Simple masks and steady tracks save the day when time is tight. Keep this in mind as you learn how to add blur effect video fast and safe.

Workflow tips to save time
- Use adjustment layers for effects across many clips.
- Save presets for blur strength and mask styles.
- Label blur tracks and markers with notes.
- Build a checklist for legal and privacy review.
- Batch export short samples for clients to approve.
These habits make how to add blur effect video quicker on big edits and tight deadlines.
Safety, privacy, and ethics
Blur is often about trust. Be clear with clients and subjects. Ask for consent when possible. Know platform rules for faces, kids, and plates. Blur audio info if needed, like names or addresses.
If you are unsure, over-blur rather than under-blur. That is a safe default when you apply how to add blur effect video to public posts.
Frequently Asked Questions of how to add blur effect video
What is the fastest way to blur a face?
Use a Gaussian Blur with an ellipse mask and auto tracking. Feather the edge and test the clip at 100 percent zoom.
Can I blur only the background?
Yes. Duplicate the clip, blur the bottom layer, and isolate the subject on top. Use masks, a keyer, or an AI cutout.
Which blur strength hides a license plate?
Start at 25 to 50 pixels of Gaussian Blur for 1080p. Increase until you cannot read it at 100 percent zoom on a laptop and phone.
Does YouTube have a built-in blur tool?
Yes. The YouTube editor offers face and area blur after upload. It is simple, but desktop editors give more control.
Why does my blur look different after export?
Compression can soften or sharpen edges. Raise bitrate, avoid extra sharpening, and review the final file on the target device.
Conclusion
You can add a blur in minutes with the right steps. Use a mask, track movement, and set a clean feather. Check quality on the final device and export with care.
Start now. Pick one clip and apply one blur. Then try motion tracking and background blur. If this helped, subscribe for more tips, ask a question, or share what you want to learn next.