Use a fog machine or digital layers, then shape it with light.
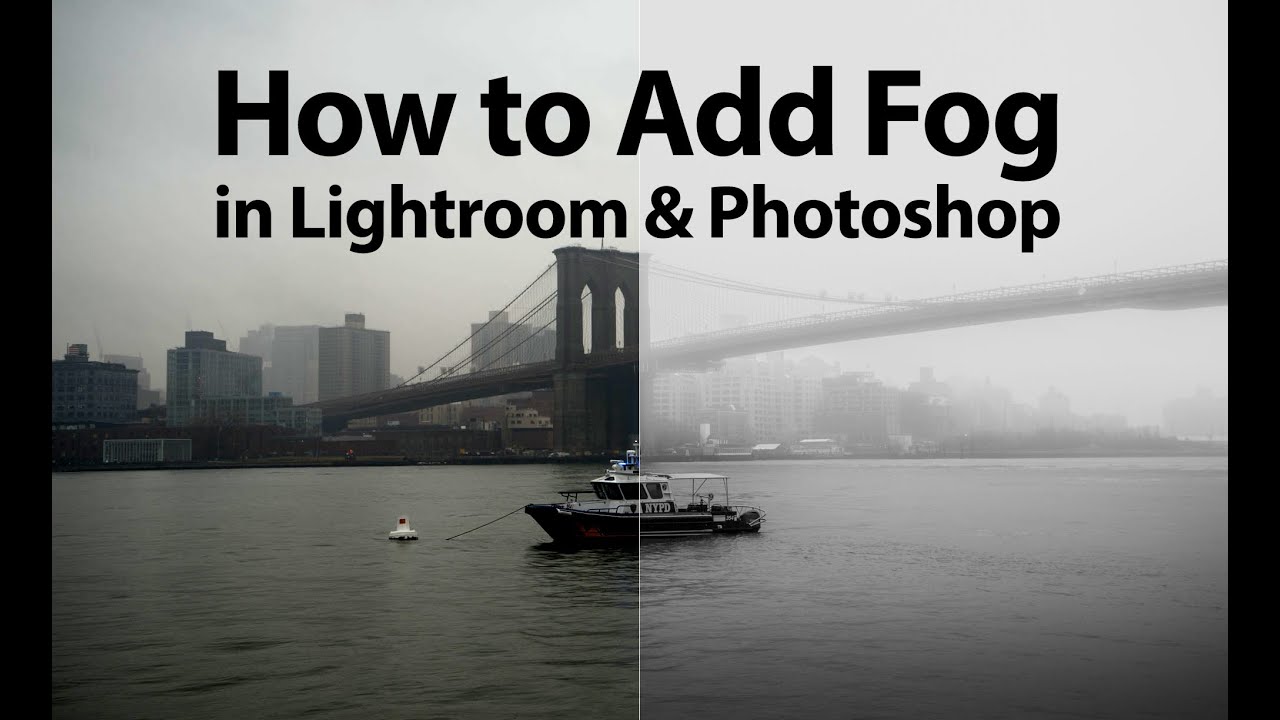
If you want a scene to feel moody, dreamy, or epic, learning how to add fog mist effects is a game changer. I’ve built these looks for films, ads, and photoshoots, both on set and in post. In this guide, I’ll show you proven, safe, and repeatable ways to get that cinematic fog. You’ll learn what works, what fails, and exactly how to add fog mist effects without guesswork.
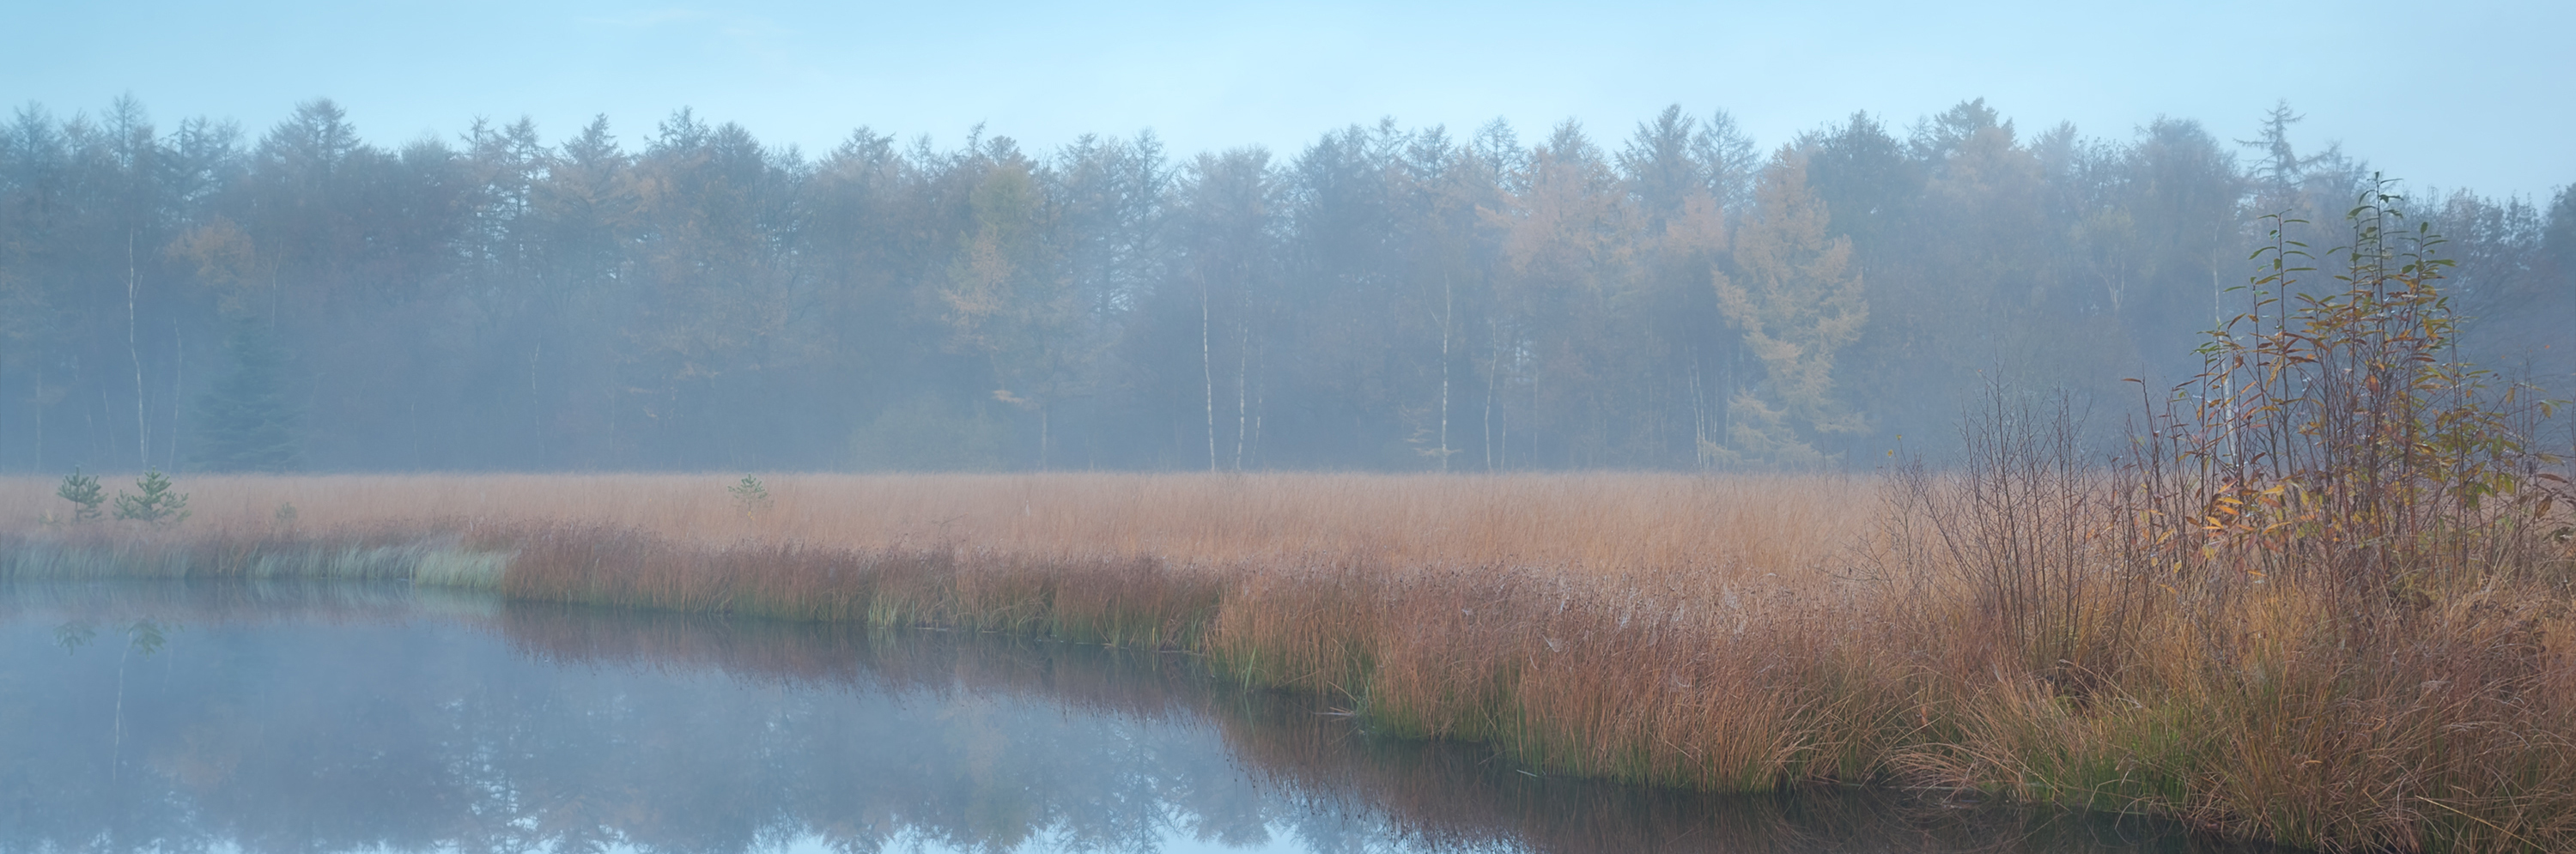
Understand the look: fog vs mist vs haze
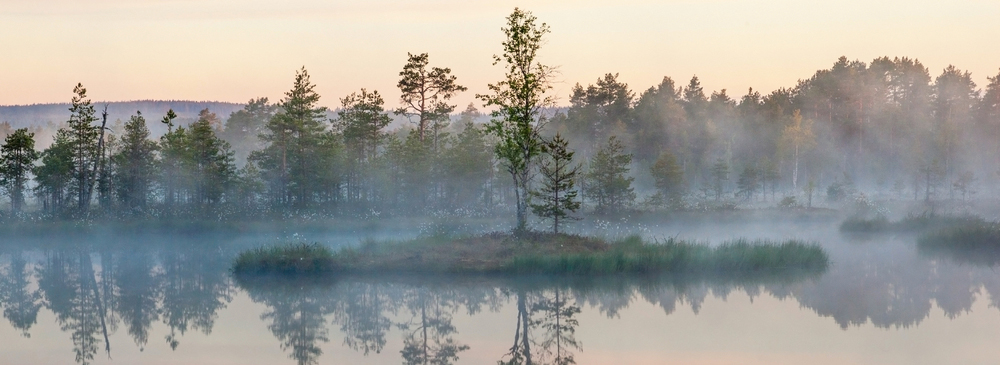
Before you learn how to add fog mist effects, define the mood. Fog is dense and low. Mist is thin and moves fast. Haze is even and fills the air for light beams.
Ask what story you want to tell. A horror hall wants haze and beams. A fantasy meadow wants soft mist near the ground. A night alley wants low fog and strong backlight.
Scale matters. Big rooms need more output and time. Small rooms need short bursts and fans. Outdoor shots need to work with wind and sun. Learn how to add fog mist effects by matching look, scale, and light.
Gear and materials for practical fog and mist
To add practical fog, you need the right tool. Your choices decide how the air looks, moves, and feels.
Core options
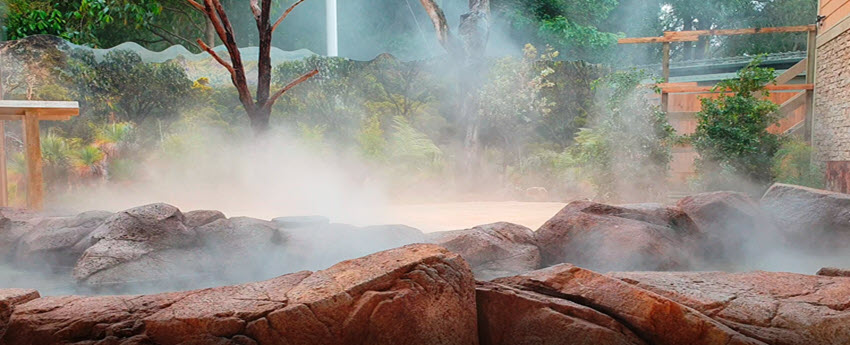
- Hazer. Makes thin, even haze. Great for beams and volume.
- Standard fog machine. Makes dense puffs that drift and break up.
- Low-lying fog. Use dry ice or a fog chiller for ground-hugging fog.
- Ultrasonic mist. Good for small, local mist and product shots.
- Fans. Move and shape the air. Box fans and small clip fans both help.
- Flags and nets. Block or shape light so the fog reads well.
Fluids and safety
- Use certified water-based fluids for most sets. They clear fast and are widely accepted.
- Oil-based haze lasts longer but can leave residue. Check venue and gear rules.
- Do not mix your own fluid unless you know the chemistry and risks. Buy tested fluid.
- Ventilate. Follow local safety rules and the machine manual.
- Avoid smoke detectors and sprinklers. Notify the site and cover heads if allowed.
I learned to log output levels and room size. That made resets fast and repeatable. It also helped me explain how to add fog mist effects to new crew without stress.
Step-by-step: how to add fog mist effects on set
You can learn how to add fog mist effects on set in a simple flow. Keep it calm and methodical. Here is the workflow I use.
Plan the look
- Pick fog type: haze for beams, fog for clouds, low-lying for ground.
- Decide density and movement. Quiet drift or rolling banks?
- Note safety and time limits. Make a ventilation plan.
Prep the space
- Close doors and windows if you need build-up.
- Kill HVAC if it pulls haze out too fast.
- Pre-stage fans. Aim them away from camera at first.
Light the fog
- Backlight makes fog pop. Side light adds depth.
- Use flags to cut spill. This keeps contrast high.
- Warm key with cooler backlight for mood. Or vice versa.
Fog the set
- Pulse the machine. Do short bursts, then wait 30 to 60 seconds.
- Feather with fans. Aim fans across the space, not at camera.
- Watch the monitor. Stop when beams or layers read well.
Shoot and reset
- Roll while the level is stable. Keep notes on output and wait time.
- Top up as needed between takes. Repeat your timing.
Pro tips and pitfalls
- Pre-chill low fog with ice or a chiller. It will hug the ground longer.
- Avoid blasting the fog straight into frame. It looks fake.
- Keep makeup and hair ready. Moist air can shift some looks.
This process is how to add fog mist effects that hold up on camera and save you time. It is simple, safe, and easy to repeat.

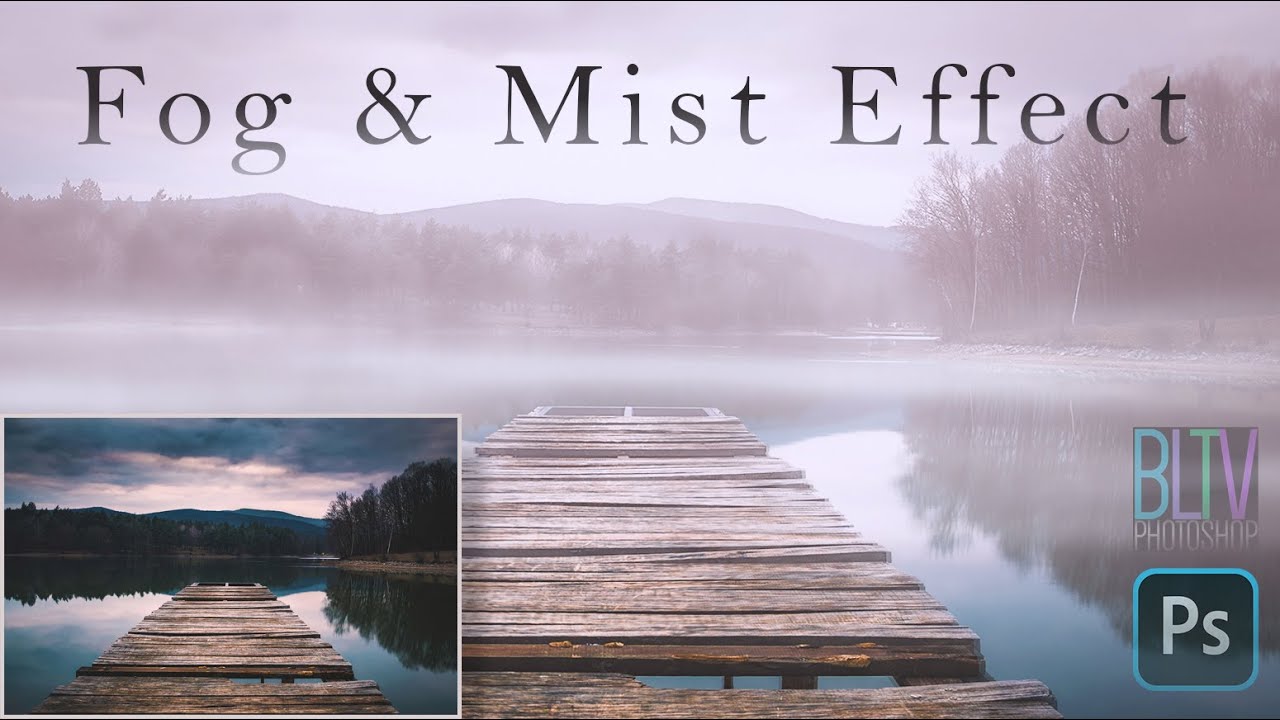
Photo editing: how to add fog mist effects in Photoshop or mobile
You can also learn how to add fog mist effects in post. This is fast for stills and social content.
Layer-based method
- Start with a new layer. Fill with black or gray and add a mask.
- Use a soft white brush at low opacity. Paint fog along the ground and depth lines.
- Add Gaussian Blur to soften. Vary the blur size by distance.
Blend and depth
- Try Screen, Lighten, or Soft Light blend modes. Lower opacity to taste.
- Use a gradient on the mask to fade fog with distance.
- Add a blue-gray tint to the fog layer for cold scenes. Add warm tint for sunset.
Stock and brushes
- Use fog PNG overlays with alpha. Place, scale, and rotate to match wind.
- Use custom fog brushes with scatter. Change size and flow as you paint.
- Match light direction. Fog must be brightest near the light source.
Finishing
- Raise contrast on the subject if fog lowers punch.
- Add a slight bloom or glow on lights to sell volume.
- Sharpen edges you want to pull forward.
This is how to add fog mist effects in photos while keeping control. It reads real because the light and mask follow the scene.

Video and 3D: how to add fog mist effects in post
For video, the trick is motion and depth. You want fog that moves with the shot and matches light.
Compositing steps
- Track the shot. Use 2D or 3D camera tracking as needed.
- Add fog plates or particle layers. Tie them to the tracked camera.
- Use luma or depth mattes. Keep fog behind subjects when needed.
Particle and volumetric tools
- Use particle systems to emit soft sprites that drift and fade.
- Add noise fields to push and pull the fog over time.
- In 3D tools, enable volumetric fog. Light it with real scene lights.
Color and matchmove
- Match color temp to plate. Warm street lights give amber fog.
- Add subtle grain to the fog layer. Match the plate grain.
- Use subtle vignettes to focus attention and hide edges.
Render and review
- Preview at full motion. Watch for boiling or tiling.
- Break the fog into layers: background haze, mid fog, foreground wisps.
- Keep opacity low. Less is more on moving shots.
These steps are how to add fog mist effects that hold up in motion and 3D. They feel true because light, depth, and movement stay in sync.

Lighting strategies that sell the effect
Fog without the right light can look flat. Light is what reveals air. Learn how to add fog mist effects by shaping beams and edges.
What works best
- Backlight and side light. They carve lines and add depth.
- Small hard sources for strong beams. Large soft sources for dreamy mist.
- Practical lights in frame to justify glow.
Control and color
- Use flags and grids to keep spill off walls.
- Add a touch of color contrast. Warm key and cool backlight reads well.
- Set white balance to taste. A cooler balance makes fog feel thicker.
Common fixes
- If beams look muddy, reduce ambient fill.
- If haze kills contrast, add negative fill or edge light.
- If fog feels fake, lower density and let it drift.
Light makes the air visible. That is the heart of how to add fog mist effects that look cinematic and clean.

Troubleshooting and pro tips
Even pros hit snags. Here is how to add fog mist effects with fewer headaches.
Frequent problems
- Fog clears too fast. Close doors and kill HVAC. Use a hazer, not a fogger.
- Fog is too dense. Vent between takes. Use shorter bursts and fans.
- Low fog rises. Pre-chill. Keep the ground cold and reduce fan speed.
- Sensors trip. Notify the site. Bypass only with permission and a fire watch.
Workflow tips
- Set a metronome timer for bursts. Keep the rhythm the same.
- Slate output settings and wait times. It speeds resets.
- Pre-light with a diffuser in the air. Then swap to real haze for takes.
Health and safety
- Use tested fluids. Follow maker guidance.
- Vent on breaks. Give crew clean air cycles.
- Wipe lenses and gear. Residue can build over time.
These habits are simple. They are how to add fog mist effects that look great and keep the day moving.

Budget and DIY options
Not every shoot needs a rental truck. You can still learn how to add fog mist effects on a lean budget.
Low-cost choices
- Small hazer or mini fogger. Great for rooms and short scenes.
- Aerosol atmosphere spray. Works for quick photo beams in small spaces.
- Box fans, clamps, and flags. Cheap tools with big impact.
Smart savings
- Rent for a day. Pro gear is cheap to rent and fast to set up.
- Buy more fluid than you think you need. Running dry can waste time.
- Scout airflow. A good room saves more than a bigger machine.
Caution notes
- Do not use vape pens as fog. It looks wrong and can coat gear.
- Avoid homebrew fluids. Use certified products with clear labels.
- Get permission at venues. Some places ban haze without a fire watch.
With these picks, you know how to add fog mist effects without blowing your budget. You still get strong, clean results.
Workflow and continuity for teams
On sets with many shots, control wins the day. Here is how to add fog mist effects and keep looks consistent.
Continuity steps
- Take light meter and camera notes. List haze level and burst timing.
- Use phone logs for each take. Track time since last burst.
- Save looks with stills on a tablet. Match density and beams.
Crew roles
- Assign one person as haze lead. They watch levels and timing.
- Have one fan wrangler. They set angles and speeds.
- Keep a safety lead. They watch air and clear paths.
Data helps the next day too. It is the professional way to show how to add fog mist effects with repeatable quality.
Frequently Asked Questions of how to add fog mist effects
Is haze safer than fog?
Both can be safe when used as directed. Water-based haze is common and clears fast. Always ventilate and follow product guidance.
How do I get low fog that hugs the ground?
Use a low-lying fogger or chill fog from a regular machine. Cold fog stays low, so use a chiller and keep fans gentle.
Can I add fog in Photoshop and make it look real?
Yes. Use soft brushes, blur, depth masks, and match the light. Keep opacity low and layer the effect.
What lights work best for fog beams?
Backlights and small hard sources work best. Add flags to control spill and keep contrast.
Will fog harm my camera or lights?
Water-based haze used right is usually fine. Wipe gear after the day and avoid oil haze near fans or sensors.
How do I keep fog from showing the background too much?
Cut ambient light and add negative fill. Then place backlight to make the air glow and hide clutter.
What is the fastest way to clear a room full of haze?
Open doors, run fans to the outside, and switch HVAC back on. It usually clears in minutes with good airflow.
Conclusion
You now know how to add fog mist effects with control, speed, and style. Choose the right tool, shape with light, and keep notes. Use post tools when you need fine control or fast turnarounds.
Start small on your next shoot. Try a hazer, a fan, and a backlight. Then add layers and depth as you grow. Want more hands-on guides like this? Subscribe, ask a question, or share your test shots.