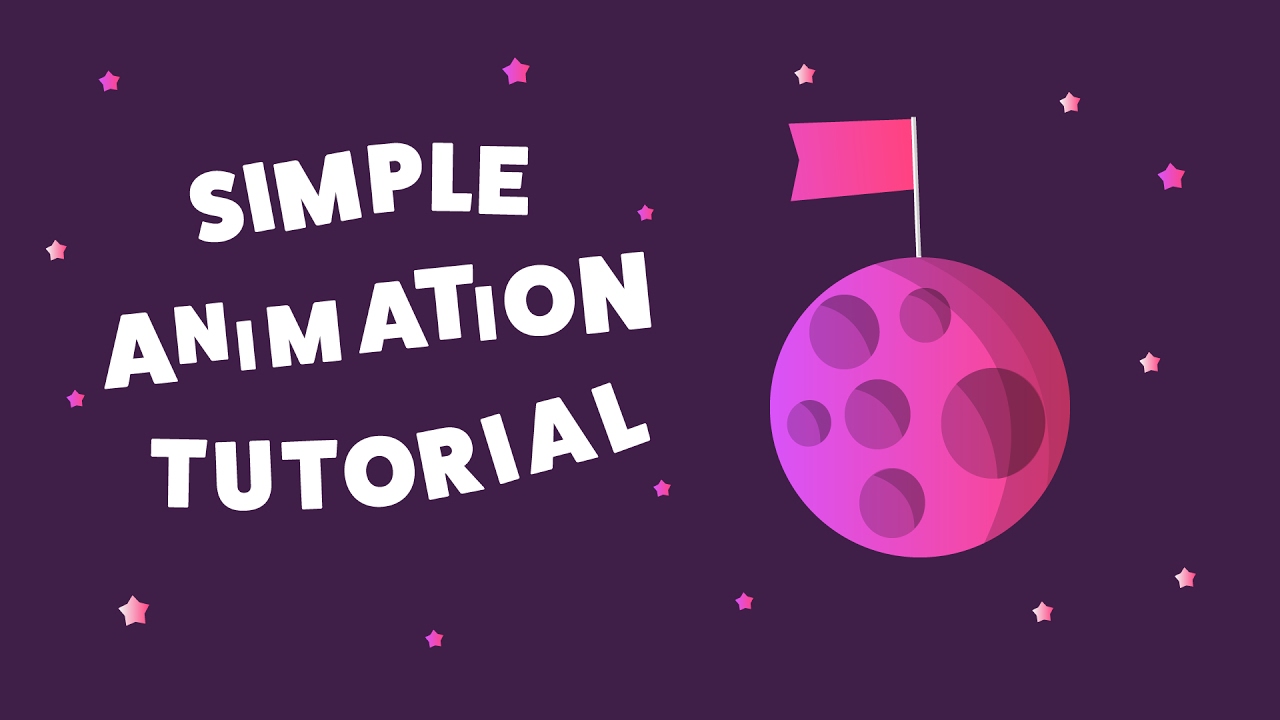
Plan, storyboard, design simple assets, then animate scenes with clear timing.
If you want to know how to animate simple explainer video content that grabs attention and converts, you are in the right place. I’ve produced dozens of explainers for startups and global brands. In this guide, I’ll show you how to animate simple explainer video scenes step by step, share hard‑won tips, and help you avoid common mistakes. Read on to build a clean, effective video in days, not weeks.

Understand the Goal and Audience
Start with one goal. What do you want viewers to do after watching? Download an app. Book a demo. Remember one key benefit. Clear goals guide every choice.
Know your audience. Their pain points shape the script, visuals, and pace. This is the secret to how to animate simple explainer video content that feels made for them.
Keep it short. Aim for 45 to 90 seconds. Studies show shorter videos get higher completion rates.
- Define one problem and one solution
- Choose one call to action
- Write down three audience pains in plain words

Script and Structure That Convert
A strong script saves hours in animation. Draft first. Rewrite twice. Record a scratch voiceover and time it.
Use a simple story arc. Problem. Promise. Proof. Plan. End with a clear next step. This approach makes how to animate simple explainer video content smooth and focused.
- Hook in the first 5 seconds
- Keep sentences simple and active
- Use numbers and concrete words
Reliable frameworks
- PAS: Problem, Agitate, Solve
- AIDA: Attention, Interest, Desire, Action
Pacing tips
- 120 to 150 words per minute for voiceover
- One idea per scene
- Match visual beats to phrases
Storyboard and Visual Plan
A storyboard turns words into shots. Sketch stick figures. Use boxes and arrows. Clarity beats art. Each frame should show one action and one label.
Think like a comic strip. Show flows and before/after moments. This step is key in how to animate simple explainer video scenes without confusion.
- Note on-screen text per frame
- Add simple camera moves
- Mark transitions
Shot list checklist
- Opening hook
- Problem scene
- Solution reveal
- How it works steps
- Social proof
- Call to action

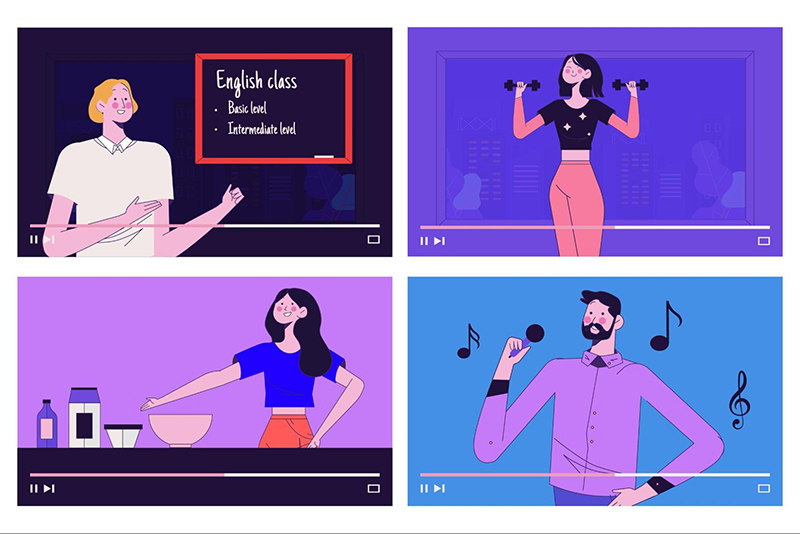
Choose the Right Style and Tools
Pick a style that fits your brand and time. Flat 2D icons are fast. Whiteboard is easy for education. Simple character rigs help for stories.
Tool choices affect speed. If you are new, try drag‑and‑drop tools. If you need control, use pro software. Choosing smart tools is part of how to animate simple explainer video content on a tight schedule.
Beginner friendly
- Canva or Canva Video for quick scenes
- Vyond or Toonly for simple character animation
- CapCut for basic edits and overlays
Pro workflows
- Adobe After Effects for motion graphics
- Adobe Illustrator or Figma for assets
- DaVinci Resolve or Premiere Pro for edit and sound
- Blender (Grease Pencil) for 2D hand‑drawn looks

Design Assets and Prep
Keep design simple. Use one font family, two weights, and one accent color. High contrast helps mobile viewers. Build a tiny brand kit.
Create reusable pieces. Icons, backgrounds, and buttons. Export as SVG or PNG. Good prep is how to animate simple explainer video scenes fast without clutter.
- Use a color palette with 3 to 5 colors
- Keep stroke widths consistent
- Name layers and files clearly
Licensing matters. Use assets you have rights to. Stock sites are great, but always check terms.
Animate Step by Step
Work from rough to polish. Block the moves first. Then add easing, overlap, and small details. This is the heart of how to animate simple explainer video content with clean flow.
Core moves
- Position: slide in and out
- Scale: pop or zoom
- Opacity: fade for soft entrances
- Rotation: small spins for emphasis
Order of operations
- Lock timing to the voiceover
- Animate main objects
- Add secondary motion
- Finish with transitions
Timing and spacing basics
- Ease in and ease out most moves
- Use the graph editor for smooth arcs
- Hold on key poses so ideas land
Camera and transitions
- Use simple cuts or 8‑frame fades
- Try parallax with background layers
- Avoid flashy wipes unless on brand
Two pro tips from my studio. Animate text last to match exact words. And preview at 50 percent speed to spot awkward motion. These small habits shape how to animate simple explainer video sequences that feel natural.

Add Voiceover, Music, and Sound FX
Record voiceover in a quiet space. A closet full of clothes works well. Use a pop filter. Keep tone friendly and warm.
Mix smart. Voice should sit above music. Add light sound effects for clicks, whooshes, and pops. Good audio can make how to animate simple explainer video content feel premium.
- Aim for consistent loudness
- Cut silences and breaths
- Use royalty‑free music with clear licenses
Edit, Review, and Iterate
Cut anything that is not vital. Trim slow sections. Add captions for sound‑off viewers. Clarity wins.
Do at least two review rounds. First for story and timing. Second for polish. This habit is a quiet trick in how to animate simple explainer video projects that clients love.
Feedback checklist
- Is the hook clear in 5 seconds?
- Is one message obvious?
- Is the call to action visible and spoken?
Export and Deliver
Export to the channels you need. Most platforms like MP4 H.264 in 1080p. Keep file sizes lean without losing clarity.
Add captions and metadata. Thumbnails must be bold and readable. Preparing outputs well is part of how to animate simple explainer video assets for real‑world use.
- YouTube: 1080p, high bitrate, clear title
- Web: MP4 H.264, compressed with care
- Social: Square or vertical crops if needed
Common Mistakes and How to Fix Them
Long scripts lose viewers. Cut words. Slow pacing also hurts. Keep scenes tight.
Cluttered design hides the message. Use white space and contrast. Inconsistent style looks messy. Stick to one look. Avoid these and you’ll master how to animate simple explainer video content that feels pro.
- Missing CTA: add a clear button and URL
- Small text: design for mobile first
- Loud music: duck under voice by 6 to 9 dB
Real-World Workflow Example
A 60‑second fintech explainer, start to finish. One day for script and storyboard. One day for design. One day for animation. Half day for audio and export.
We set one goal: book a demo. The video showed three pains and one clean solution. This simple flow shows how to animate simple explainer video content fast without losing quality.
Time savers I use
- Reuse a master scene template
- Prebuild text and icon animations
- Keep color styles in one place
SEO Tips for Hosting and Sharing Your Explainer
Your video needs to be found. Add a strong title and detailed description. Include a transcript on the page. This supports search and accessibility.
Use schema markup for videos. Add chapter timestamps. Optimize thumbnails with clear words. These small steps support how to animate simple explainer video content that also ranks.
- Put the video high on the page
- Match the page copy to the script
- Link to related articles and resources
Frequently Asked Questions of how to animate simple explainer video
How long should a simple explainer video be?
Aim for 45 to 90 seconds. Most viewers finish shorter videos, and you keep the message sharp.
What software is best for beginners?
Try Canva or Vyond for quick results. They have templates and simple controls, which is helpful when learning how to animate simple explainer video basics.
Do I record the voiceover before animating?
Yes, record a rough voiceover first. It sets timing, so your animations hit each word and beat.
How much should I budget for a simple explainer?
DIY tools can cost little beyond subscriptions. For pro work, small projects often range from a few hundred to a few thousand dollars.
How do I keep viewers engaged?
Hook fast, use clear visuals, and keep scenes short. Add captions and a bold call to action at the end.
Conclusion
You can build a clear, engaging explainer with a tight plan, a clean script, and simple motion. Focus on one message, keep shots tidy, and let audio support the story. That is how to animate simple explainer video content that wins attention and trust.
Start today. Draft your script, sketch five frames, and pick a tool that fits your skills. Want more tips and templates? Subscribe for weekly guides, or leave a comment with your project goals.